Showing posts with label Christmas. Show all posts

Friday, December 21, 2012

Family & Dining Room Decorations

Umm,  you know how on Monday's post about the living room decorations I said I'd post photos of my family room and dining room holiday decorations on Wednesday?

 
 The dining room was kept pretty simple this year  ...


And you notice that today is Friday?


.

Well I gotta tell you ...


I've been so busy, Wednesday came and went and I totally forgot about the post!


 .


We're going "home" to the west coast for Christmas, and I've been shopping, and wrapping and packing and shipping and generally running around like a crazy lady.


(Okay, well crazier than usual.)


And to top it off, none of the photos that I took of the family room last weekend turned out.  They were all blurry -- probably from the overdose of caffeine I took trying to get everything done.


And of course the house isn't as spiffy-looking today as it was then, because that was right before we had friends over for dinner.


I scaled back a bit on the mantle too -- it was a kinder, simplier decorating theme this year!


So I just took some quick photos of the mantle in the family room and a couple of other areas today so I could follow through on showing you the decorations.


Because that's the kind of gal I am ... 


An unorganized, forgetful, stressed blogger who never seems to get her act together ... But if I say I'm going to do something I do it!

Only not on Wednesday.


If I was really ambitious I'd have set the dining room table.  But you can see what I did last year here if you want.


I'm feeling pretty happy that the whole thing got done at all!

Hope you had a great week, and that your weekend's even better!


Monday, December 17, 2012

Christmas Decorations Up!

So I finally got the holiday decorations up outside and in. And to prove it I thought I'd show you what I ended up doing! 


Today I'll show you the entry  and the living room.
 
Because I got such a late start, and because we won't actually be home that much during the holidays, I decided to keep things pretty simple compared to what I did last year. 
 
You can see last year's decor here, here, here and here.
 
I mostly used what I already had out and created little vignettes throughout the house.
 
So come on in ...


I didn't do anything special on the bannister this year.  This little vignette greets you as you walk in.


To the left is this vignette under the mirror.


And through this entrance is the living room.


I always do a little display of my favorite vintage and glitzy ornaments on the coffee table.


I love lots and lots of candles during the holidays.


Ornaments in bowls and vases (or the latest buzz word, "vessels") I already had out.


No presents under the tree yet -- I haven't started wrapping yet! (Of course!)


I'll show you the dining room and the family room on Wednesday.
 
Have a great week!


Monday, December 10, 2012

Faux Mercury Tutorial -- Again

This is the week I actually get the holiday decorations up! I know ... I'm a bit late (ya think?). 
 
From what I see in Blogland everyone else's homes are beautifully decorated, their shopping is all done, gifts are artfully wrapped and under the gorgeous tree ....

 
I hang my head in shame.

 
But I finished up some ornaments for the shop over the weekend, worked a bit on some furniture pieces, did some re-merchandising today, and now I'm raring to finally get the house in order and decorated!

 
Ho-ho-ho!

So until I have something finished to show you, I thought I'd repost this tutorial from last year. It's my one and only post that's gone viral, and my most posted on Pinterest. :-)

When I first tried this last year I came upon my method by experimenting with someone else's way of doing it. I still like this way best because you spray the outside of whatever piece you're mercurizing (I think I just made-up that word!). I not only find that easier, but this way if you're doing something like a bowl or a covered dish, you can still use the inside for edible items such as candy or cookies if you wish.
 
A couple of tips:
 
  • Another thing that makes this technique a little different is the blotting.  I discovered that by accident because of the drips, but it turned out to make it more realistic, in my view.

  • I had to stop when I did these pieces because I wasn't in a well-enough ventilated area and I started to get a headache.  On later pieces I did more spraying, spritzing, and blotting, and the pieces turned out more like the Ballard look I was going for. Do your blotting randomly. I just used a paper towel.

  • I still haven't found the paint at Michaels in Northern Virginia, although I've been told it's available in other regions, but's it's available at Hobby Lobby in-store and online.

If you haven't tried this yet, give it a go--it's easy!


Take a few of these ...


Thrift store finds - about $1.50 each

Add this and a spray bottle of water ...


I couldn't find this at Home Depot or Michaels, so I ordered online from Amazon.com.
The large size is around $17


And get this - faux Mercury Glass!


Here they are with some tea lights in them.


I first saw this done by Maury of A Fabuless Home. Mine didn't go as smoothly as hers -- I accidentally sprayed the front of my shirt with the paint (I blame a faulty sprayer valve ... not the fact that I'm basically a klutz!).

But it's easy. All you do is spray the glass piece with the Krylon paint, let it dry for about 20 seconds or so, then lightly spritz it with water. I decided to spray mine on the outside of the piece.

Because of the aforementioned issue with the paint sprayer valve, I got drips. But all I did was blot with a paper towel and spray again until I got the desired effect. Actually I should have done more spraying and blotting, but the paint fumes were giving me a headache (note to self and to you, make sure you do this in a very well-ventilated area).

The best thing about this project is you can't screw it up! The more you blot and respray the more realistic it looks. Well, maybe that's the second best thing. The very best is the fact that you can get the same look as this ...


Ballard Designs, $25 - $39 each


For a whole lot less. I'm trying it on glass ornaments next!


Sharing at the Crafty Christmas Link Party at Primitive & Proper


Sunday, December 2, 2012

I think I may be turning into an elf ...

I've been busting my patooti making holiday ornaments and decor. The house looks like the glitter fairy molted all over it; and my hands ... my poor hands! 


They are so dried out from paper and glue and mod podge and glitter.
 
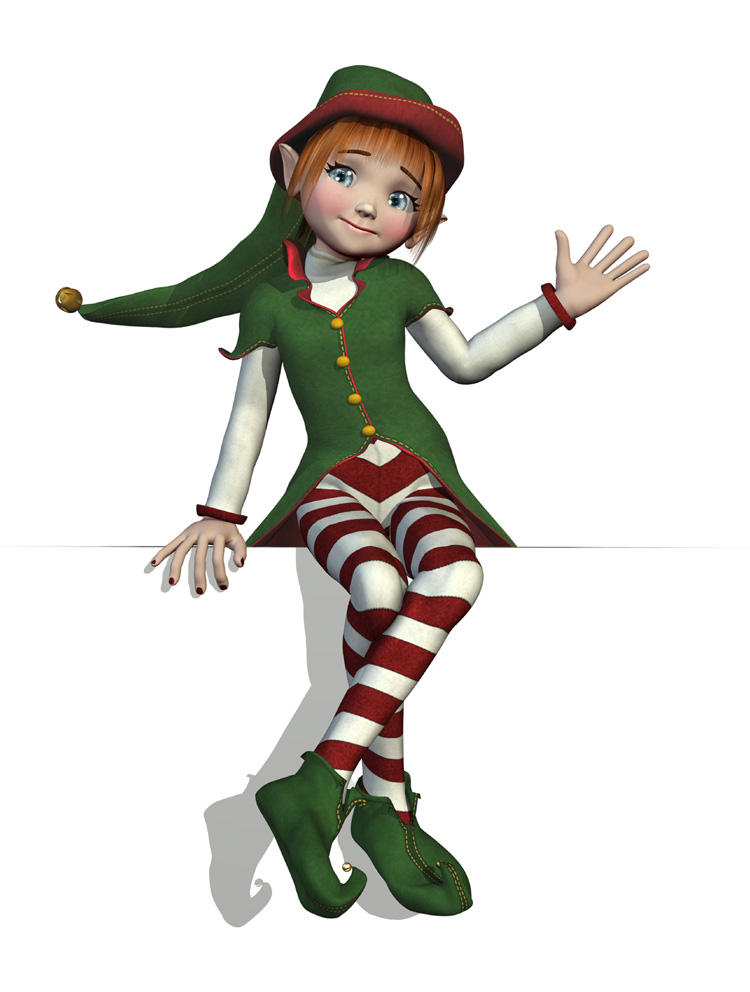
Do you think Santa springs for mani-pedis for his elves after the holiday rush?  He should also throw in some massages for their poor aching shoulders and necks from  scrunching over their work. 
 
This last batch of holiday craftiness was inspired by a few things:  First, a friend of mine had a holiday party last night.  We were all told to make an ornament that represented ourselves.
 
The idea was you all bring your ornaments, and then everyone has to guess whose ornament is whose.  So the concept was to make something that truly represents who you are. 
 
What a great idea! My friend gave prizes to the top guessers, and it was harder than anyone thought it would be. I did not even come close.  Another fun way would be to give prizes for the ornaments that get the most correct guesses. I wouldn't have won that way either but I came closer!
 
This is the ornament I made:


I used vintage images of a girl at a typewriter with a stuffed cat on her lap to represent me at the computer, where I spend half my life, with either a dog or a cat nearby; another of a girl laden down with shopping bags; a couple of dogs--I couldn't fit three dogs and three cats on the ornament--words, and music.
 
Here are some of the ornaments people brought.  You can see it was a creative bunch!


One of my favorites was the one my friend Lynn brought.  It's a pill bottle filled with her prescription for happiness.  When you open it up you find little charms of things like children, hens, horses, a shell from the beach, a raffle ticket to indicate her good luck, a little woman doll to represent the women she helps through her various charity work, her dog's tag, etc.  This one was easy for me to guess because it was so original and so Lynn!


Other crafty inspiration came from Janet at the Empty Nest and Cassie at Primitive and Proper.  They both made cute Christmas Tree holiday decorations using brush trees.
 
I first saw Cassie's on one of her blog posts, and she made hers with tea cups.  Then I went to Janet's shop to pick up a rug and some paint and saw ones she made with wine glasses.
(And by-the-way if you live anywhere around the Warrenton, VA area, be sure to stop by The Empty Nest if you haven't already -- the store is all decked-out for the holidays and filled with goodies.  I felt like a kid in a candy store!)
 
I stole adapted their ideas ...


And then added a couple of my own with some vintage low candleholders.


These were fun to make to make, and could be a good project with kids, as long as you did the hot glue work. 
 
Not that that's any insurance there won't be any accidents!  I burnt the heck out of my left index finger and I still don't have any feeling at the top of it. (Yes, I am a klutz.) The kids could help with deciding what trees go with what holders, decorating and glitterizing.  

I also made these sparkly little banners ...


And some cones and ornaments for Mr. P's Emporium.


I have a couple more ornaments to make as gifts, then I'm packing the craft stuff away and moving on to decorating the house. 
 
Yes that's right ... it's December 2nd and the house has not been decorated yet.  Unless you consider glitter-covered floors, furniture, and dogs with a few speckles decoration.
 
I should be thrown out of blogland.
 
At least I got the Thanksgiving decorations down over the weekend.
 
Sigh.  An elf's work is never done!


P.S. As always, I'd love it if you'd like Mr. P's Emporium's Facebook page! <3


Sharing at:

The Crafty Christmas Link Party at Primitive & Proper
 
Elizabeth & Co: Be Inspired
Coastal Charm: Nifty Thrifty Tuesday
Between Naps on the Porch: Metamorphis Monday